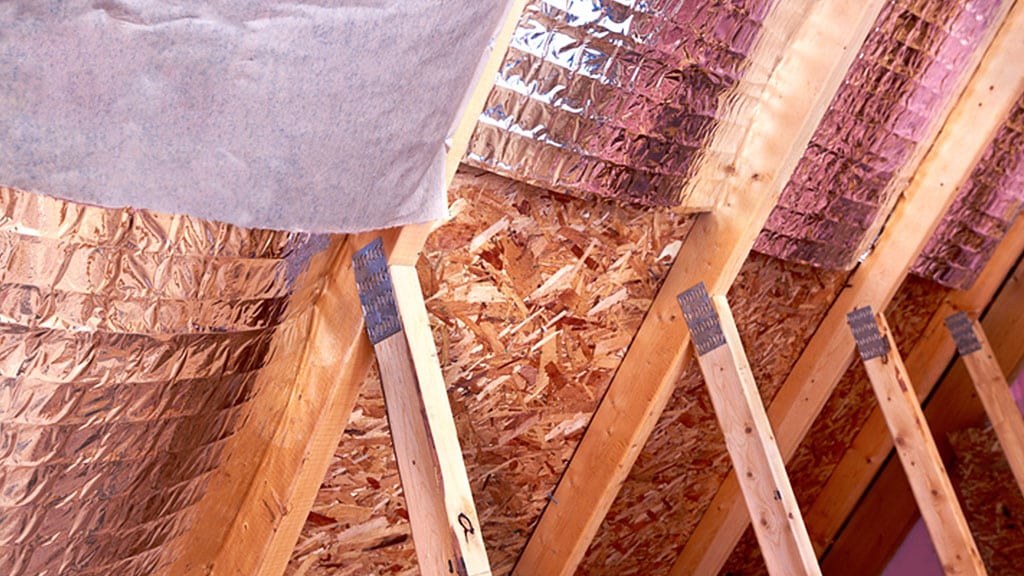
Moisture collection and retention is a big issue for buildings and can lead to problems like mold and warped wood. To avoid this, it’s common for vapor barriers to be installed in buildings. These reduce or eliminate the amount of water that can make it through a building’s walls, and can take a variety of forms.
Depending on the kind of building you design, you may need to make alterations to your design, or the properties of your model, to incorporate a vapor barrier. Here are a few of the ways you can include vapor barriers in your projects, both in school and in your career.
For Some Objects in Architectural CAD Courses, Just Apply a Vapor Permeability Rating
Vapor barriers can be so thin that it doesn’t always make sense to include unique elements in your model to represent them. In cases like these, it’s best to just use Revit’s ability to modify object properties to accomplish the goal of modeling your vapor barrier.
First, you will need to determine what kind of vapor barrier you intend to use, and note its permeability rating. Next, you should apply that permeability rating to the wall, floor, or ceiling you are working on. In your model, this will achieve the effect of adding the properties of the vapor barrier of your choosing, without the need for installing unique elements in the model. It’s an easy way to cut down on design headaches when doing modeling work.
When Working in Architectural CAD Courses, Use Detail Lines to Represent Vapor Barriers Visually
If you want to depict vapor barriers when creating designs in your architectural CAD programs, one of the simplest and most effective ways to do this is to use Revit’s “Detail Line” feature.
This tool allows you to add two-dimensional lines to objects and is typically used to denote some special property or properties. Detail lines only appear in the view in which they are drawn, which is helpful when you are alternating between the different scaling options for looking at your model. You might not want to see vapor barriers when zoomed out but could find it useful when taking a close-up look at an object that includes them.
Detail lines can be used for many things. When using them to mark vapor barriers, be sure to choose a particular pattern and stick to it throughout all your work. This will help you maintain consistency when modeling projects during your career.
Incorporate Pre-Made Vapor Barrier Objects
Though you can design objects that include vapor barrier capabilities yourself, you might find it more efficient in some cases to refer to objects that are available in BIM libraries. Repositories like Autodesk Seek are home to all kinds of objects that you can use in projects for your architectural CAD courses and include a few examples of vapor barriers.

Some vapor barriers can be found in BIM libraries, making them easy to use in projects
BIM library files include models that you can import into a project, and sometimes even include installation instructions to help you figure out how the object can be physically integrated into your model.
Since vapor barriers tend to behave similarly, and specific branding is not often important, finding specific vapor barriers won’t always be necessary, but having the option is still a good thing to keep in mind when working to complete a model.
Are you thinking about studying for an architectural CAD technician diploma?
Contact Digital School to learn more about our program.

